
i hear the question "how did you think of that?" a lot. or, "if i only had your eye for things."
i think sometimes people get too caught up in what something looks like now instead of looking at things for what they can be. so many times, the things i get the most compliments on, are the things i pick up at a garage sale for next to nothing and transform. i think it's mostly because i'm someone who's good at seeing the potential in something. i'm good at ignoring the horrible paint job or the tiny hole that could be repaired and instead look at the "bones" of the item. does it have good form? is it well made? would it look better just by changing the color? these things are so easy to change and can make such a huge difference.
i've shown you a few of my more involved transformations, but i thought i'd start to share with you some of the really quick and simple things you can do to everyday items to make them fit your needs. (without taking a lot of time or breaking the bank!)
for example, the other day i had to head to the office supply store to get a new small planner for my purse. as i looked through the stacks and stacks of horribly designed planners i started to get frustrated. it seemed that if the cover was nice, the inside was horrid. if the inside looked nice, the cover was awful. i settled for the one where i liked the inside the best since that's the part you can't really change. i decided i would alter the covers when i got home.
here are the supplies i used:
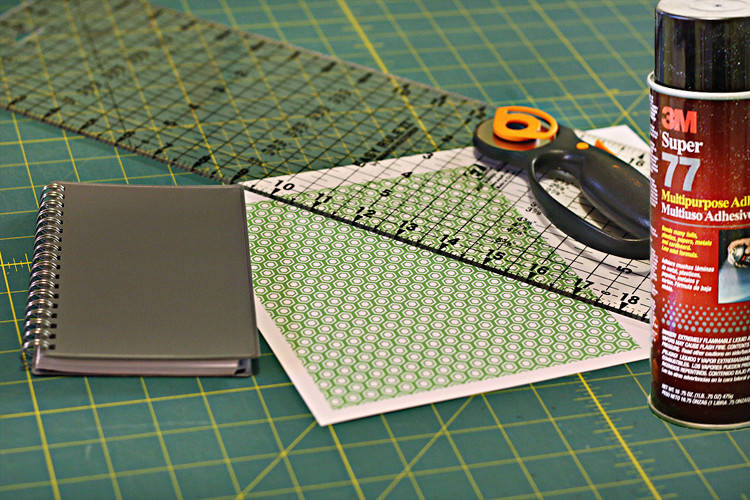
- my simple planner on the left with the plain grey cover.
- a ruler
- a rotary cutter (or scissors, xacto knife)
- super 77 (i highly recommend this spray glue. other glue may work, but this glue is sure to hold!)
- whatever you want to cover your object with. don't get hung up on this part. i printed out a pattern i designed but if you don't have the ability to do that, think outside the box. use a page from a magazine, book, fabric, etc. there are a million places online to download other people's designs, often for free! (please make sure you have the right to download other's deigns. just because it's on the internet doesn't mean everyone has the rights to it!)
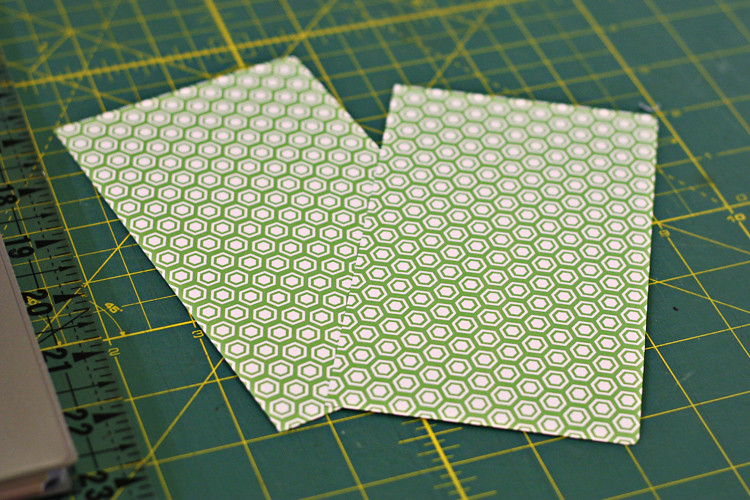 start by measuring the cover of your book and cut your paper to the size required. i made mine a little smaller than the cover itself
 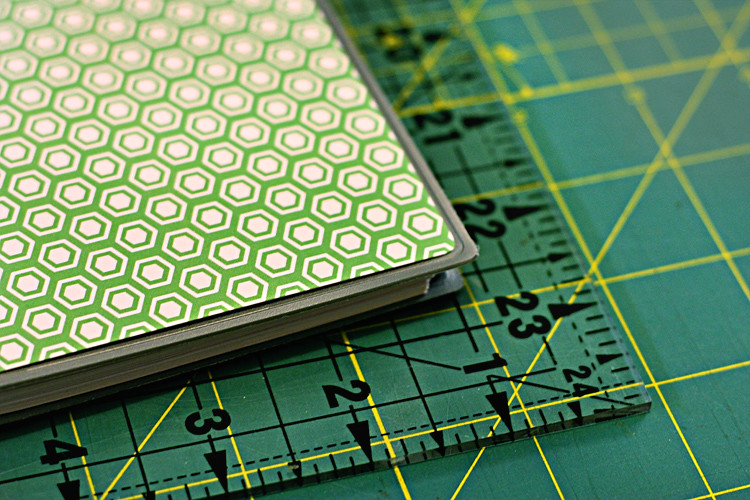 i also quickly rounded the corners of my paper with a scissors to match the cover.
 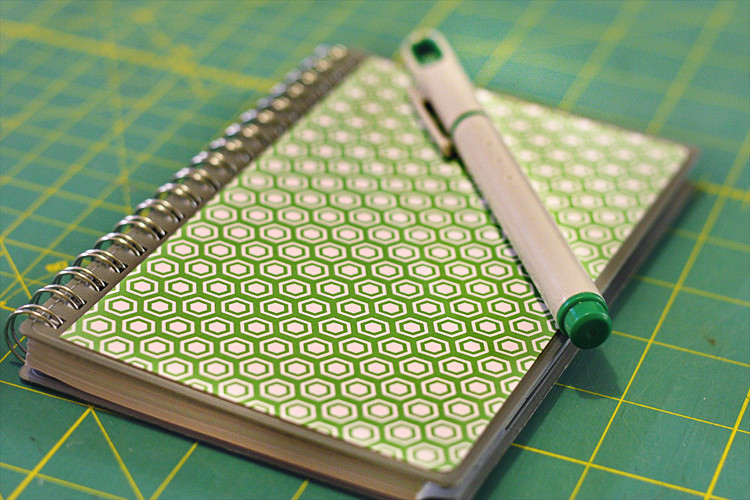 once your covering is cut to size, simply spray with the spray glue and press to adhere. voila! you're done!
 the whole project probably took 15 minute to complete and that includes taking photos along the way. super simple, quick, and easy! and now instead of a plain vinyl cover, i have a customized planner that's sure to get comments when i whip it out of my purse.


3 comments:
Simple, lovely & useful: three of my favorite things. Thanks for sharing, Lori!
So pretty.
Very cute! I love transforming the simple to something unique.
Post a Comment